
- Discount up to 35% for first purchase only this month.
- sales@ysecobeefarmsusa.com
- (+1) 3252088500

Beeswax pellets make melting fast, mess-free, and precise — no grating or chopping needed. Learn the safest melting methods, exact ratios for candles, balms, and wraps, and pro tips that turn shaky first attempts into smooth, professional results every time.
If you’ve ever tried melting a chunky block of beeswax, you already know the headache. You end up hacking at it with a knife, waiting forever for it to soften, and cleaning wax off half your kitchen. That’s exactly why so many DIYers have switched to beeswax pellets. They’re small, pre-measured, and melt down in a fraction of the time — no grating, no wrestling with a cheese grater you’ll never use for cheese again.
Whether you’re making candles, lip balm, wood polish, or reusable food wraps, beeswax pellets take the guesswork out of the process. This guide walks you through the actual methods people use, the ratios that work, and the mistakes that ruin a batch — things most articles skip right over.
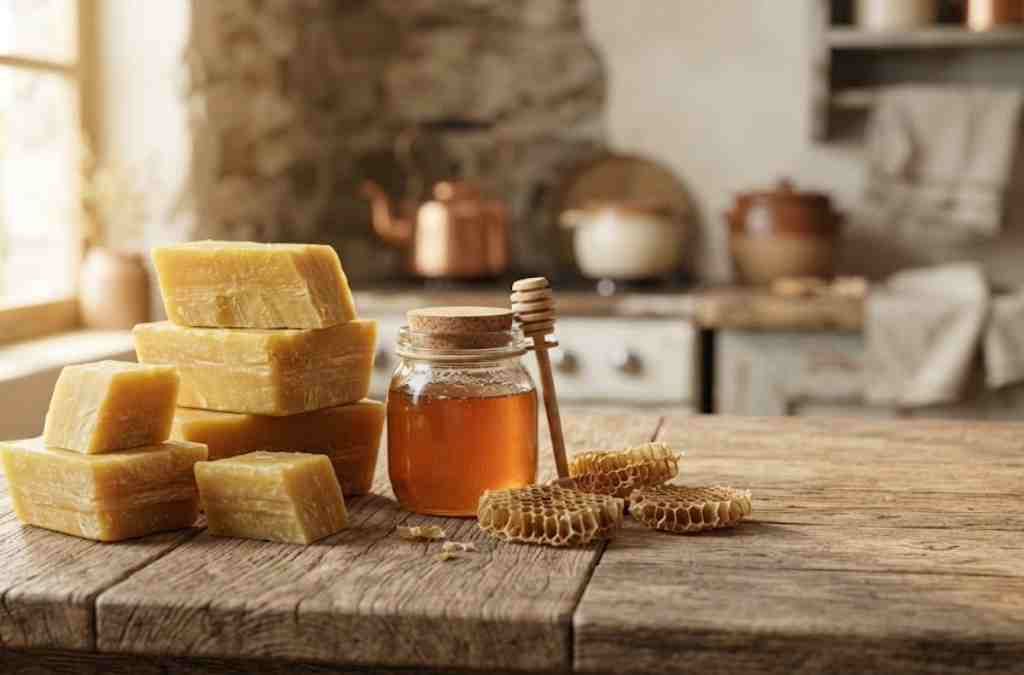
Beeswax pellets are just beeswax that’s been pre-formed into small, uniform pieces instead of a solid block. That difference sounds minor, but it changes everything about how you work with wax.
If you’re new to working with wax, starting with pellets instead of a block will save you a genuinely frustrating first attempt.
Before melting beeswax pellets, gather a few basics. You don’t need fancy equipment, but a couple of items make the process far smoother:
One thing competitor guides rarely mention: keep a separate “wax pot” permanently. Beeswax is nearly impossible to fully scrub off cookware, so using a thrift-store pot saves you from ruining something you actually cook with.
The Double Boiler Method (Most Reliable)
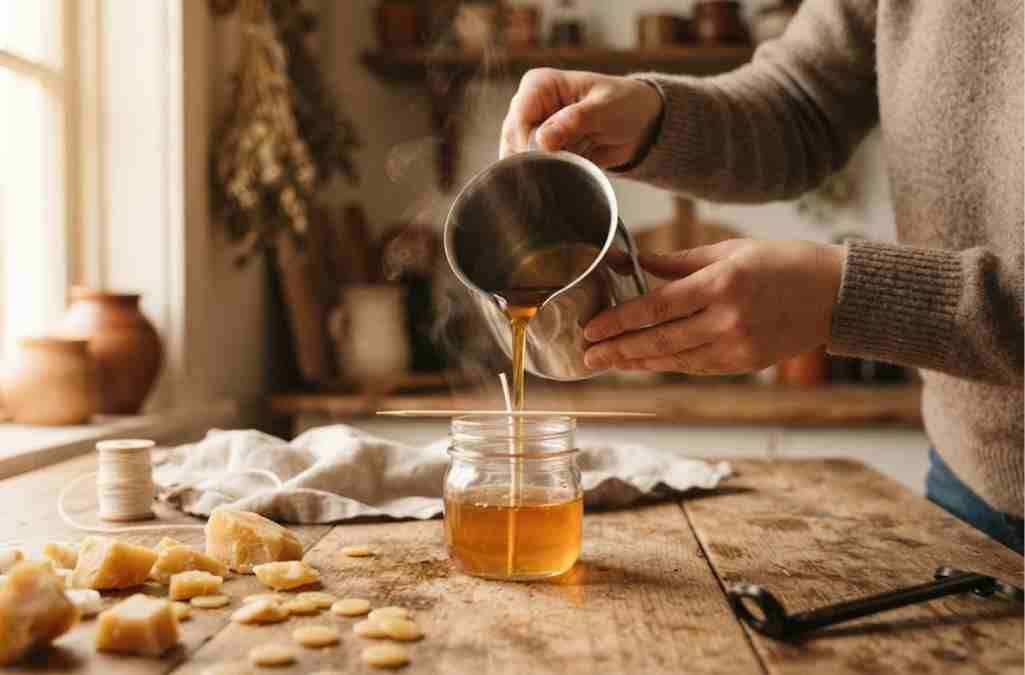
This is the safest and most controlled way to melt beeswax pellets, especially for candles and skincare products where consistency matters.
The indirect heat here is the whole point — it stops the wax from scorching, which is the single most common reason a candle batch smells off or a lip balm turns gritty.
The Microwave Method (Fastest, But Riskier)
If you’re melting a small amount, the microwave works, but it needs more attention than most guides let on.
Beeswax pellets can overheat fast in a microwave since there’s no water buffering the heat. Once it starts smoking or darkening, that batch is done — you can’t undo scorched wax.
The Slow Cooker Method (Best For Bigger Batches)
This one barely gets mentioned anywhere, but it’s genuinely useful if you’re making candles in bulk or running a small wax-based business.
A slow cooker holds a stable, low temperature for hours, which is ideal if you’re pouring multiple candles from the same batch and need the wax to stay liquid without babysitting a stove.
Most people run into the same handful of problems on their first few tries:
If you keep the heat low and patient, beeswax pellets basically melt themselves without drama.
This is the part most articles leave out entirely, and it’s often what people actually came looking for.
Candles
Lip Balm
Lotion Bars
Wood Polish
DIY Beeswax Food Wraps
These ratios are starting points — feel free to adjust texture by tweaking the oil-to-wax ratio slightly.
If you don’t use all your melted wax, pour the excess onto parchment paper and let it cool into a disc. Once solid, it can be re-melted later just like fresh pellets — beeswax doesn’t spoil or lose potency with reheating.
Unused, unmelted beeswax pellets should be kept in an airtight container away from direct sunlight and heat. Stored properly, they’ll stay usable for years without degrading.
Do beeswax pellets melt faster than beeswax blocks?
Yes, noticeably. Because pellets have a much smaller and more consistent surface area than a solid block, heat reaches every piece at roughly the same rate. A block often melts unevenly, with the outside turning liquid while the center stays solid, which wastes time and increases the risk of scorching the outer layer.
Can I melt beeswax pellets directly on the stove without a double boiler?
It’s not recommended. Beeswax has a relatively low flash point, and direct heat can cause it to scorch, discolor, or even catch fire in extreme cases. A double boiler or a bowl set over simmering water keeps the temperature controlled and safe, which matters more than the small amount of time it saves.
Why did my melted beeswax turn cloudy or grainy after cooling?
This usually happens when the wax cools too quickly or unevenly, or when it’s mixed with an incompatible oil. Letting your finished product cool slowly at room temperature, rather than in the fridge, usually produces a smoother, clearer finish.
How many beeswax pellets equal one ounce or one cup?
Most beeswax pellets weigh in a fairly consistent way, so 1 ounce is roughly 2 tablespoons of pellets, and 1 cup of pellets weighs approximately 7–8 ounces. It’s still worth weighing on a kitchen scale if your recipe needs precision, since pellet size can vary slightly by brand.
Are beeswax pellets safe to use around food, like in food wraps?
Yes, as long as you’re using food-grade or cosmetic-grade beeswax pellets. These are filtered to remove debris and are commonly used in DIY reusable food wraps, lip balms, and other products that come into contact with skin or food. Always check the packaging to confirm the grade before using it for anything edible-adjacent.




Y.S. Eco Bee Farms USA
Y.S. Eco Bee Farms USA is a trusted American wellness brand offering premium organic bee products. We provide pure, natural, and effective bee-based supplements made with sustainable sourcing and ethical beekeeping.
Y.S. ECo Bee Farms
Y.S. Organic Bee Farms
All Right Reserved Design By Example