
- Discount up to 35% for first purchase only this month.
- sales@ysecobeefarmsusa.com
- (+1) 3252088500

Learn exactly how do you make candles from beeswax with this simple, no-fuss recipe anyone can follow at home. Skip the guesswork, avoid common rookie mistakes, and end up with clean-burning, honey-scented candles you’ll actually be proud to give as gifts.
There’s something genuinely satisfying about pouring your own candles. The smell of warm honey fills the kitchen, the wax turns glassy as it cools, and an hour later you’ve got something you actually made with your hands. If you’ve been searching for how do you make candles from beeswax, you’re in the right spot — this guide walks through the whole process, including the little details most tutorials skip.
Beeswax isn’t like the paraffin you’ll find in most store-bought candles. It’s naturally golden, it smells faintly of honey even before you add fragrance, and it burns cleaner, with far less soot. It’s also a bit more finicky to work with, which is exactly why so many first attempts end up lopsided, smoky, or full of air bubbles. We’ll cover how to sidestep all of that.
You don’t need a workshop full of gear. Most of this is either already in your kitchen or a quick online order away.
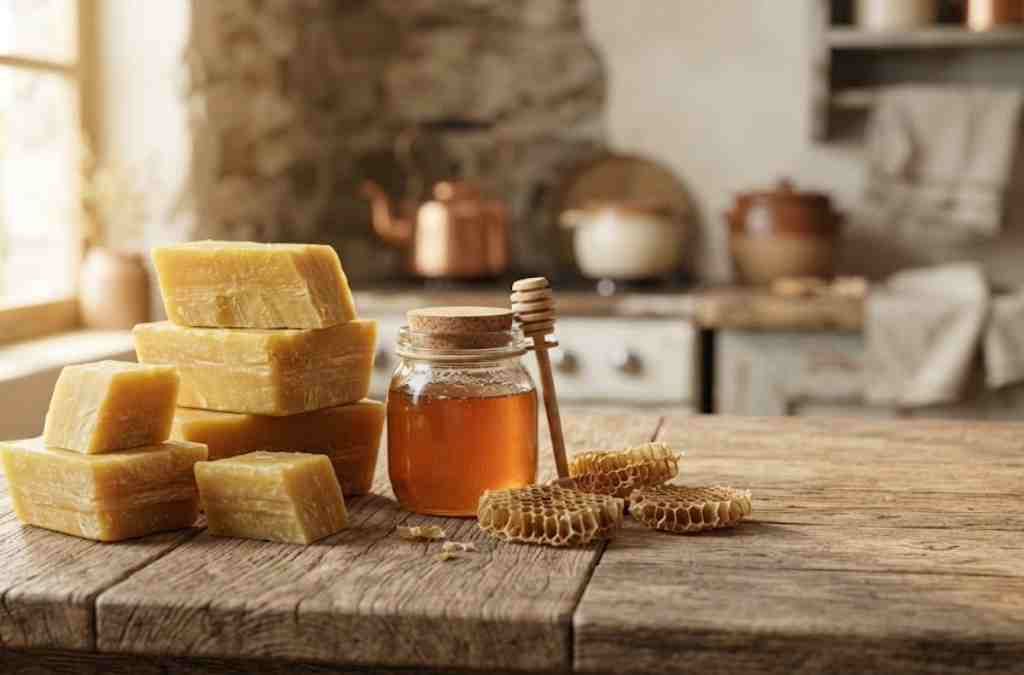
Supplies:
One thing competitors rarely mention: beeswax has a much higher melting point than paraffin or soy — somewhere around 145–150°F. That means it also takes noticeably longer to melt, and it holds heat longer once poured, so patience matters more here than with other waxes.
This is the part everyone’s really after, so let’s get into it.
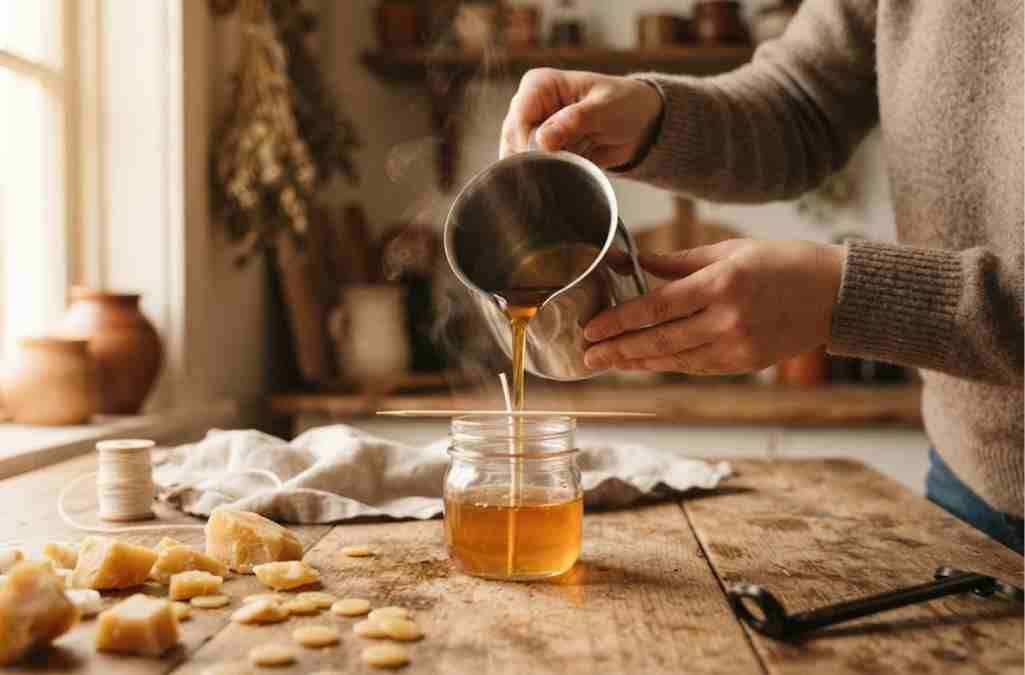
Fill your bottom pot with a few inches of water and bring it to a gentle simmer — never a rolling boil. Add your beeswax pellets to the top container and let them melt gradually, stirring every couple of minutes. Rushing this with high heat is the number one reason beeswax scorches or discolors, so keep the temperature around 160–170°F while melting.
While the wax melts, secure your wick to the bottom center of your container. A small dab of melted beeswax works as glue in a pinch if you don’t have wick stickers on hand. Lay a skewer or pencil across the top of the jar and wrap the excess wick around it so it stays perfectly straight and centered — an off-center wick is the most common reason candles burn unevenly or tunnel down the middle.
Once the wax is fully melted and off the heat, stir in your essential oil — roughly 1 tablespoon per pound of wax is a solid starting point. Beeswax already carries a natural honey scent, so fragrance oils tend to blend into something subtler than what you’d get with soy or paraffin. Don’t expect a strong throw; that’s just the nature of the wax.
This is where a lot of people go wrong. Pouring too hot causes sinkholes and cracking as the candle cools; pouring too cool leaves the surface uneven and full of air pockets. Aim to pour between 135–145°F, slowly and in one steady motion, keeping the wick centered as you go.
Set your candles somewhere free of drafts and let them cool undisturbed for at least 24 hours — longer for larger jars. Trim the wick down to about ¼ inch before the first burn. On that first light, let the wax pool melt all the way to the edges of the container; this “memory burn” prevents tunneling for the rest of the candle’s life.
This is one of the biggest gaps in most beginner recipes, and it’s the difference between a candle that burns beautifully and one that either drowns itself or barely melts past the wick.
Because beeswax burns hotter and denser than soy, it typically needs a slightly larger wick than you’d use for the same-sized soy candle. If your finished candle tunnels or the flame drowns in melted wax, size up on your next batch.
Paraffin is cheaper and easier to find, sure, but beeswax brings a few genuine advantages that make the extra care worthwhile:
Once you’ve got the process down, you’ll find yourself experimenting — layering colors, trying different molds, mixing in dried botanicals pressed into the sides of the jar. The base method stays the same no matter how far you take it.
How do you make candles from beeswax without a double boiler?
You can melt beeswax in a heatproof glass bowl set directly over a pot of simmering water — just make sure the bottom of the bowl doesn’t touch the water. Avoid melting beeswax directly on the stovetop or in the microwave without a water buffer, since it can scorch or catch fire if it overheats.
Why did my beeswax candle turn out cloudy or white on top?
That’s called frosting, and it’s completely normal — beeswax naturally recrystallizes as it cools, especially in cooler rooms. It doesn’t affect how the candle burns. Pouring at a slightly lower temperature and letting candles cool at room temperature (not in a fridge) can reduce it.
Do beeswax candles need fragrance oil, or is the honey scent enough?
That’s entirely personal preference. Pure beeswax has a soft, natural honey aroma on its own, so plenty of people skip fragrance entirely. If you do add oil, go easy — beeswax doesn’t hold scent as strongly as soy or paraffin, so heavy amounts can overwhelm the natural smell without actually improving throw.
How long do homemade beeswax candles last once burning?
Beeswax burns considerably slower than paraffin, often 1.5 to 2 times longer per ounce. A typical 8oz jar candle can give you 40–50 hours of burn time if the wick is trimmed properly between uses.
Can you reuse or recycle beeswax that didn’t set properly?
Yes — that’s one of the best things about this wax. If a candle cracks, sinks, or just doesn’t come out right, remelt it in your double boiler and pour it again. Beeswax can be melted down and reused indefinitely as long as it isn’t contaminated with debris.




Y.S. Eco Bee Farms USA
Y.S. Eco Bee Farms USA is a trusted American wellness brand offering premium organic bee products. We provide pure, natural, and effective bee-based supplements made with sustainable sourcing and ethical beekeeping.
Y.S. ECo Bee Farms
Y.S. Organic Bee Farms
All Right Reserved Design By Example