
- Discount up to 35% for first purchase only this month.
- sales@ysecobeefarmsusa.com
- (+1) 3252088500

Learn how to make beeswax candles at home with real beekeeper-approved methods, correct wick sizing, and troubleshooting tips most guides skip. Save money, skip the toxic paraffin, and craft candles that burn cleaner and longer — starting today.
If you’ve typed “how to make beeswax candles” into a search bar tonight, chances are you’re tired of paraffin candles that soot up your walls and disappear in two nights flat. Good news: beeswax is one of the most forgiving waxes you can work with, it smells faintly of honey without any added fragrance, and once you get your ratios and temperatures right, you’ll never look at store-bought candles the same way again.
This guide walks through the entire process — not just the pour, but the parts most tutorials gloss over, like why your candle might tunnel down the middle, how to pick a wick that actually fits your container, and how long you really need to wait before lighting your first one.
Before jumping into the steps, it helps to know why this wax is worth the slightly higher price tag:
Gathering the right supplies up front is what separates a smooth pour from a melted mess on your stovetop. Here’s your shopping list:
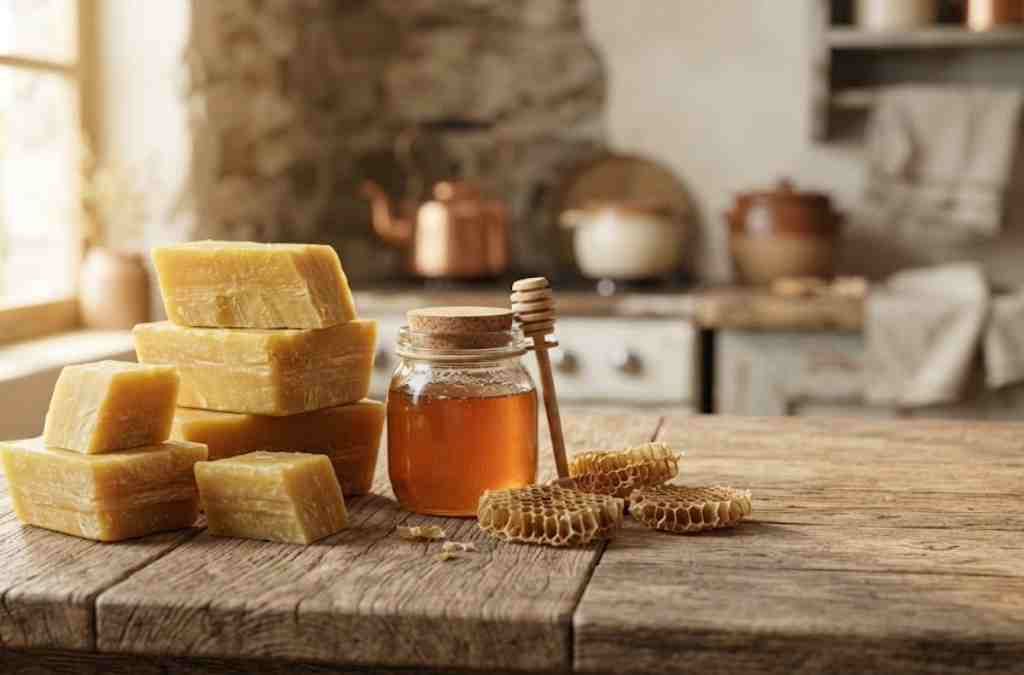
Not all beeswax is equal, and this is one spot most beginner guides skip entirely. You’ll typically find three grades:
For your first attempt at learning how to make beeswax candles, filtered yellow wax gives you the best balance of ease, scent, and burn quality.
This is the single biggest mistake beginners make, and it’s rarely explained clearly. Beeswax burns hotter and slower than paraffin, so a wick sized for a paraffin candle will almost always burn too small in beeswax, leaving you with a candle that tunnels and drowns its own flame. As a rough starting point:
Always do a test burn before finalizing a batch. If the melt pool doesn’t reach the edges within the first two hours, size up.
Once your supplies are ready, the actual process moves fast. Here’s how to make beeswax candles from start to finish:
Step 1: Prep Your Wicks and Containers
Attach your wick to the wick sticker, press it firmly to the center of your container’s base, and use a skewer laid across the top to keep it standing straight while the wax sets.
Step 2: Melt the Beeswax Slowly
Break or chop your beeswax into smaller chunks so it melts evenly. Place it in a pouring pitcher set inside a pot of simmering water — never on direct heat, since beeswax scorches easily and can discolor. Heat it to 160–170°F, stirring occasionally.
Step 3: Add Fragrance or Color (Optional)
Once fully melted, remove from heat and stir in essential oils at roughly 6–8% of the total wax weight, or natural dye chips if you want a tinted candle. Beeswax already carries its own scent, so less is more here — too much oil can actually stop the wax from setting properly.
Step 4: Cool Slightly Before Pouring
Let the wax cool to around 135–145°F before pouring. Pouring too hot causes sinkholes and cracking as it cools; pouring too cool causes uneven surfaces and poor adhesion to glass.
Step 5: Pour and Straighten the Wick
Pour slowly down the side of the container to avoid trapping air bubbles. Immediately check that the wick is centered and standing straight.
Step 6: Let It Cure
Leave the candle undisturbed at room temperature for at least 24–48 hours. Beeswax shrinks slightly as it hardens, and rushing this step is one of the most common reasons candles develop a sunken, cracked top.
Even careful crafters run into a few recurring problems. Here’s how to fix them:
Once you’ve got the ratios and wick sizing down, making a batch takes less than an hour of active work, and you’ll have candles that outlast anything from the store by a wide margin.
Is it hard to learn how to make beeswax candles as a complete beginner?
Not really — beeswax is actually more forgiving than soy wax in some ways because it has a wider working temperature range. The learning curve is mostly about wick sizing and patience during the curing stage, both of which get easier after your first batch.
Do beeswax candles need fragrance oil to smell good?
No. Pure beeswax already carries a soft, natural honey scent from the hive. Many people skip added fragrance entirely and just enjoy the wax’s own smell, which also means one less ingredient that can interfere with the burn quality.
Why did my beeswax candle turn out with a white, filmy coating?
That’s called frosting, and it’s a natural characteristic of pure, unrefined beeswax reacting to temperature changes — not a mistake. It doesn’t affect how the candle burns or smells, and many crafters consider it proof the wax is genuinely pure.
How long should I wait before burning a beeswax candle after pouring?
Give it at least 24 to 48 hours to fully cure at room temperature. Burning too early, while the wax is still settling, often leads to an uneven melt pool and a shorter overall burn life.
Can I reuse or melt down a beeswax candle that didn’t turn out right?
Yes, beeswax is very reusable. Simply re-melt it in a double boiler, strain out the old wick and any debris, and pour it again with a fresh wick. This is one of the practical advantages beeswax has over some other wax types.





Y.S. Eco Bee Farms USA
Y.S. Eco Bee Farms USA is a trusted American wellness brand offering premium organic bee products. We provide pure, natural, and effective bee-based supplements made with sustainable sourcing and ethical beekeeping.
Y.S. ECo Bee Farms
Y.S. Organic Bee Farms
All Right Reserved Design By Example